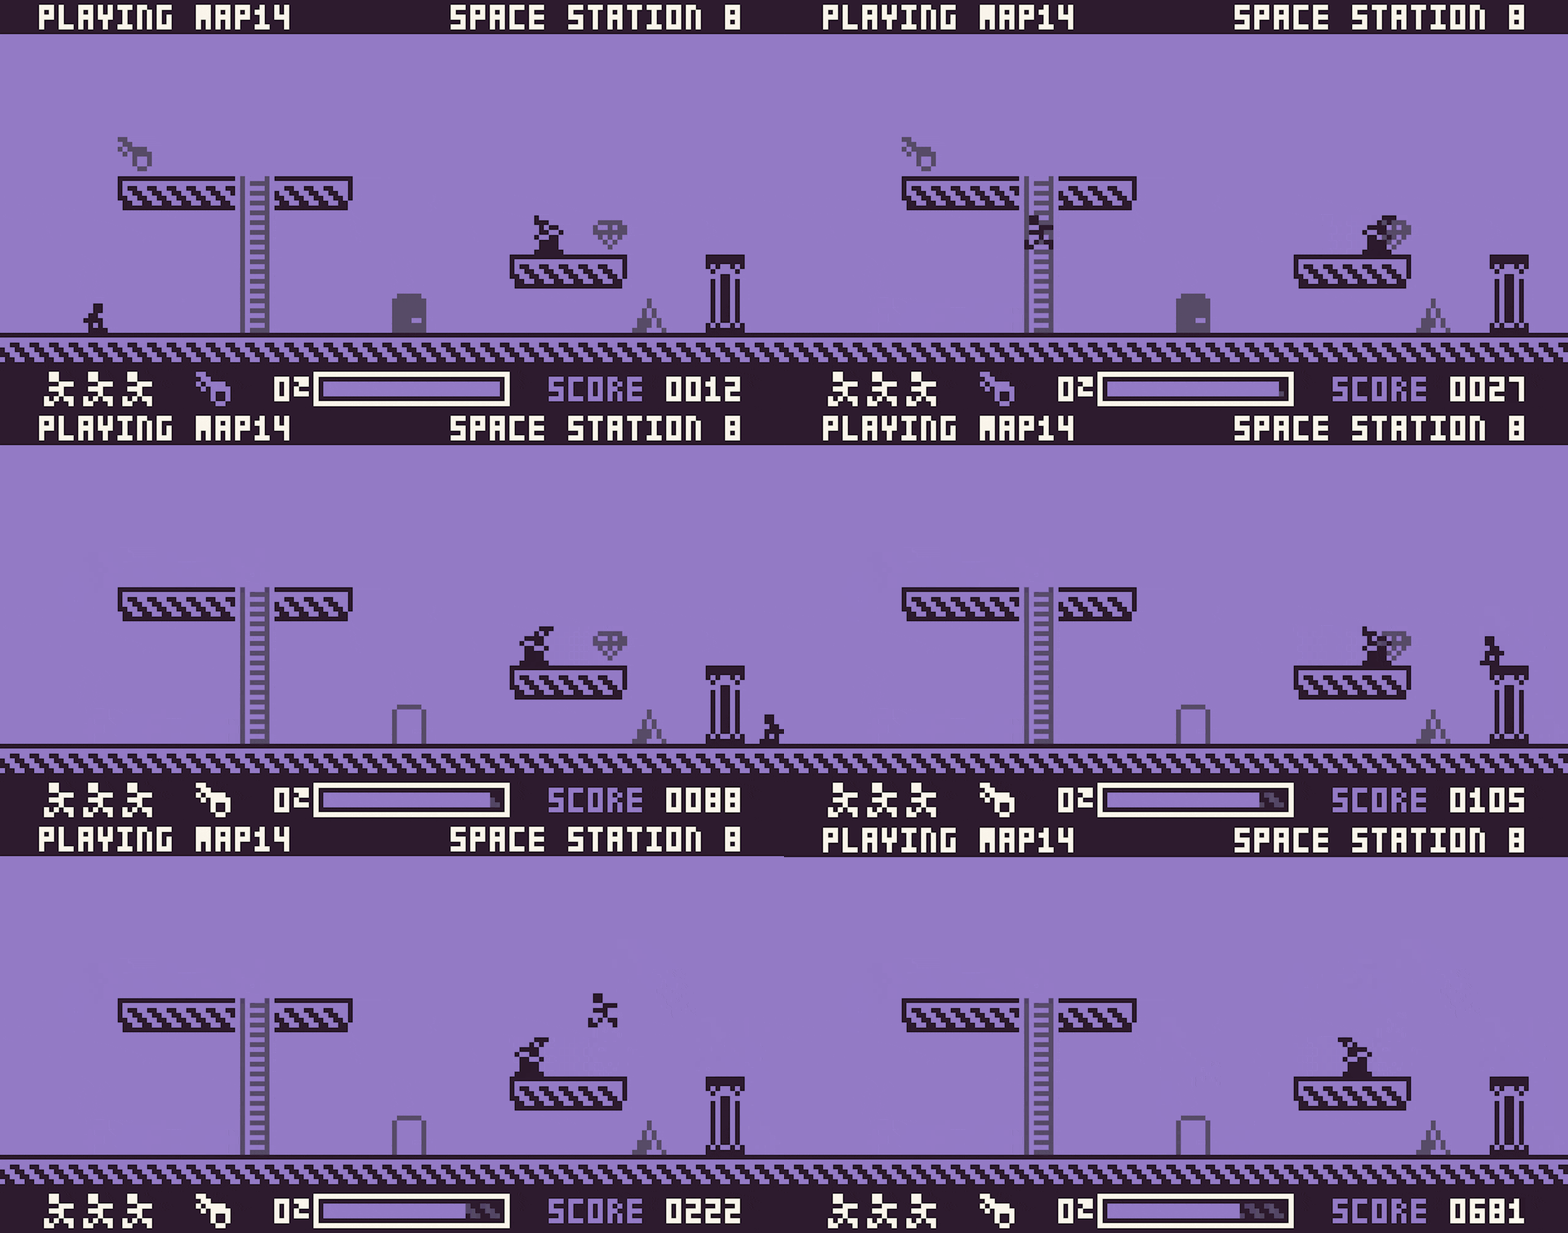
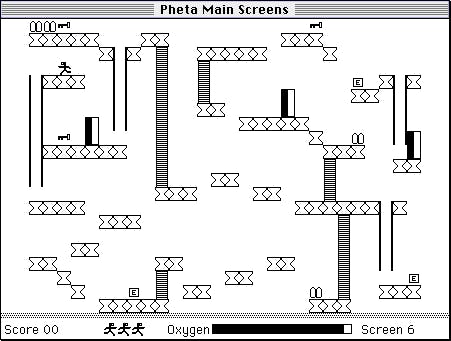
Space Station 8 is a Micro Platformer created in 72 hours for Ludum Dare 49 based on a game I used to play on my original Macintosh called Spacestation Pheta. Space Station 8 is also heavily inspired by Bitsy and my Fantasy Console, Pixel Vision 8, which I used to create the game.
Unlike some of the other games I've created for game jams like Ludum Dare, there are no pre-made maps at all! Instead, the entire game revolves around a simple map editor, and I invited people to submit their games via a custom GitHub issue. In addition, I use GitHub Actions to automatically build new versions of the game every time I check in new code and update the wiki, which has all the instructions.
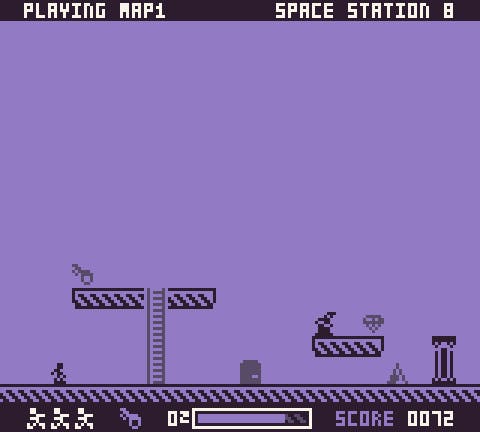
In this post, I'll walk you through how the level editor works, how I designed the map files to be easy to share, and some of the tricks I used to leverage GitHub to help crowdsource my game's levels.
Making Maps
The goal of Space Station 8 is to escape before you run out of oxygen. To do that, you will need to navigate the level, find the key, and make it to the exit in time. Each level is self-contained, and you are scored based on your ability to complete it within the amounted time and lives. There are also some prized gems you may want to collect on your way out while avoiding aliens and other deadly obstacles like spikes.
When you first load Space Station 8 up, it loads up the default map. You can immediately begin editing it, or you can drag a spacestation8.png map onto the game and load that up.
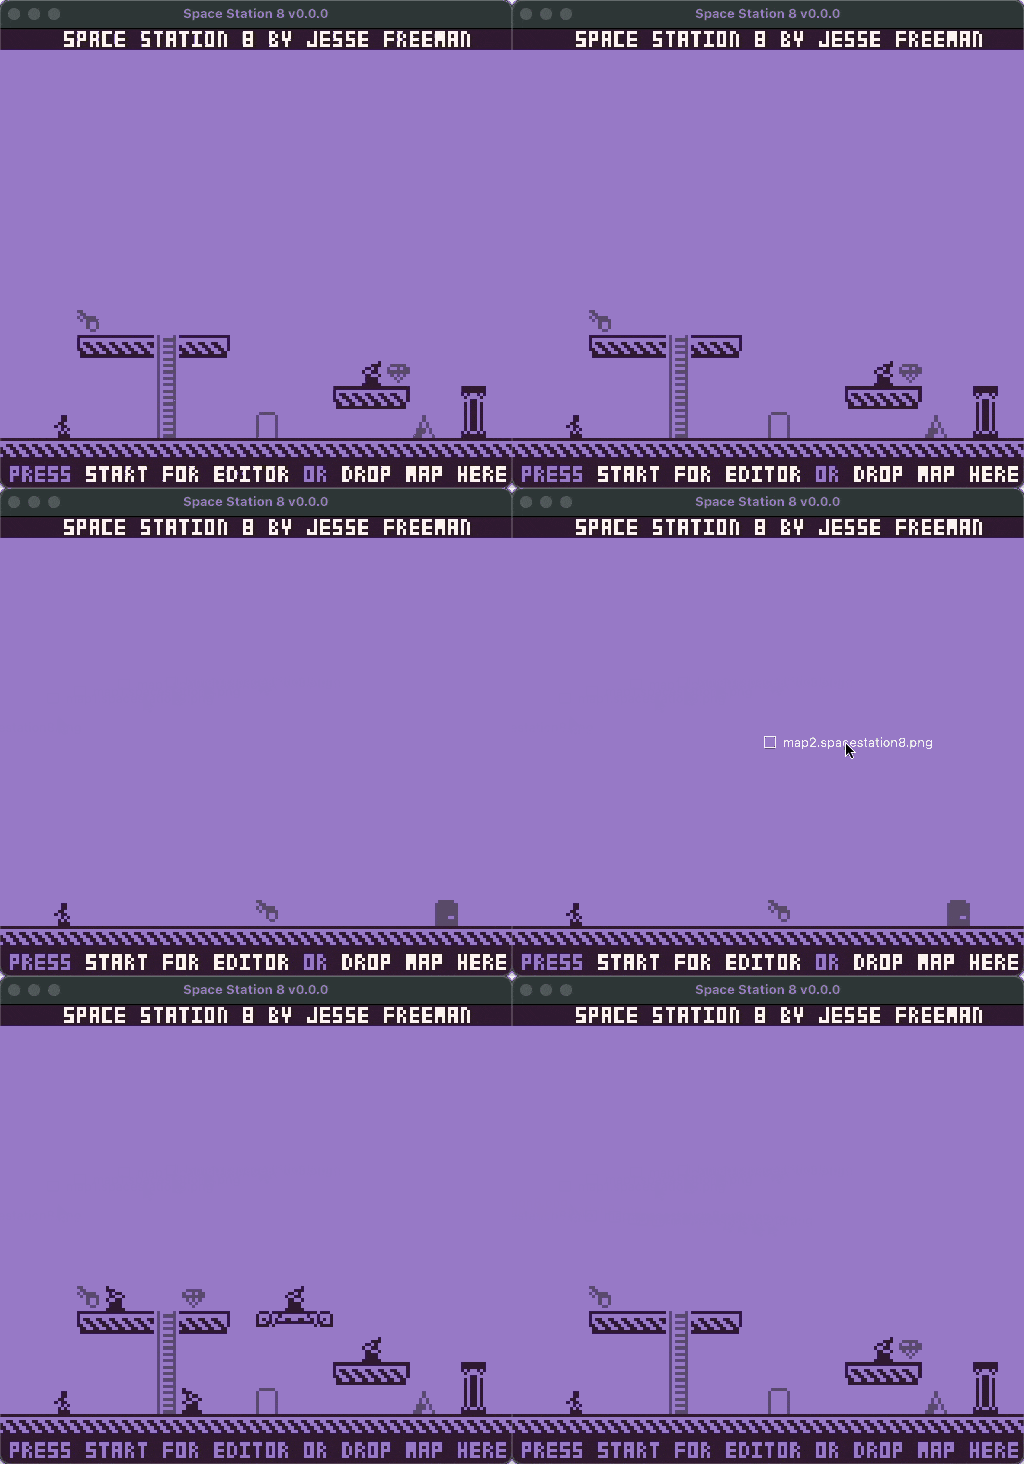
Space Station 8 map's should be at least 160 x 132 pixels:
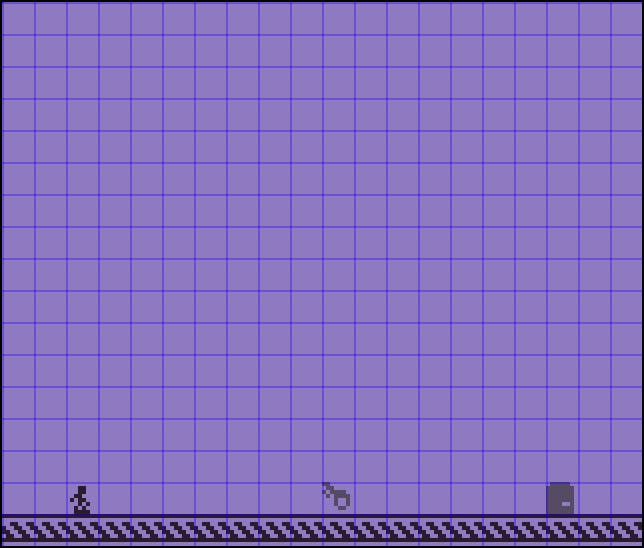
You can also provide a map that is 160 x 152, where the last two rows are the sprites for the map:
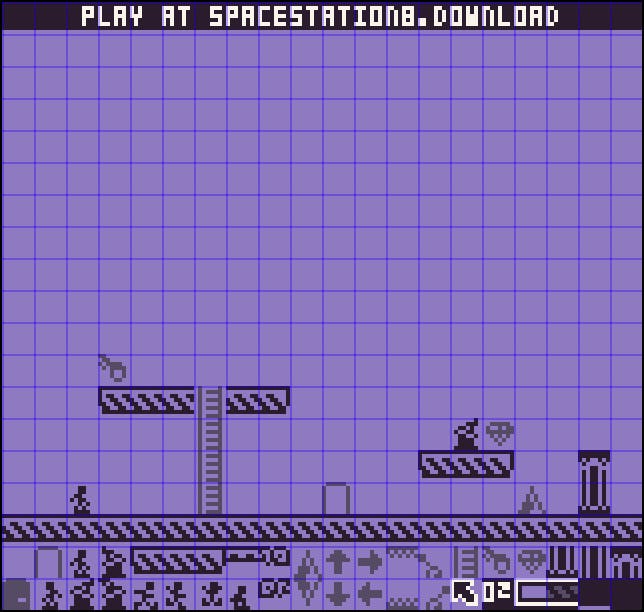
Whenever you go to the splash screen, Space Station 5 will automatically create a new map.spacestation8.png for you in your /Levels/ folder:
| Version | Path |
| Windows | C:\Users\UserName\Documents\SpaceStation8\Levels\ |
| MacOS | /Users/UserName/SpaceStation8/Levels/ |
| Linux | /Users/UserName/SpaceStation8/Levels/ |
Space Station 8 shows you the map editor before you can play a map. The editor has two main areas, the map and the tile picker on the bottom:
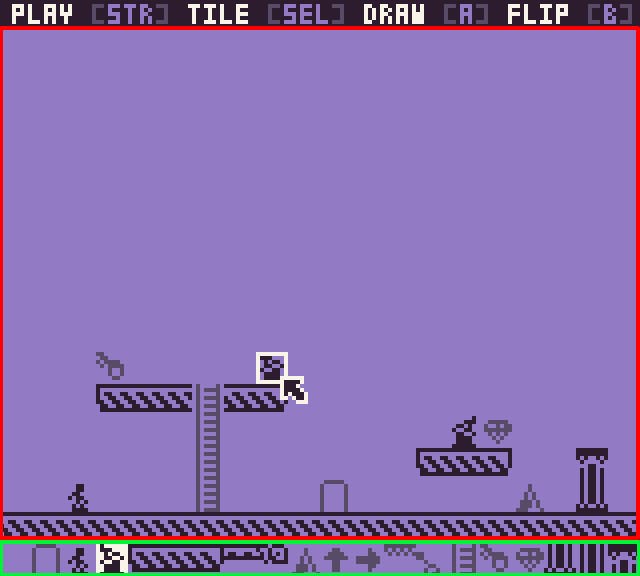
The white blinking box in the map area previews where the tile will be drawn. You can move the tile highlighter via a controller's d-pad, the keyboard arrows, or the mouse. By default, the mouse is hidden unless you move it.
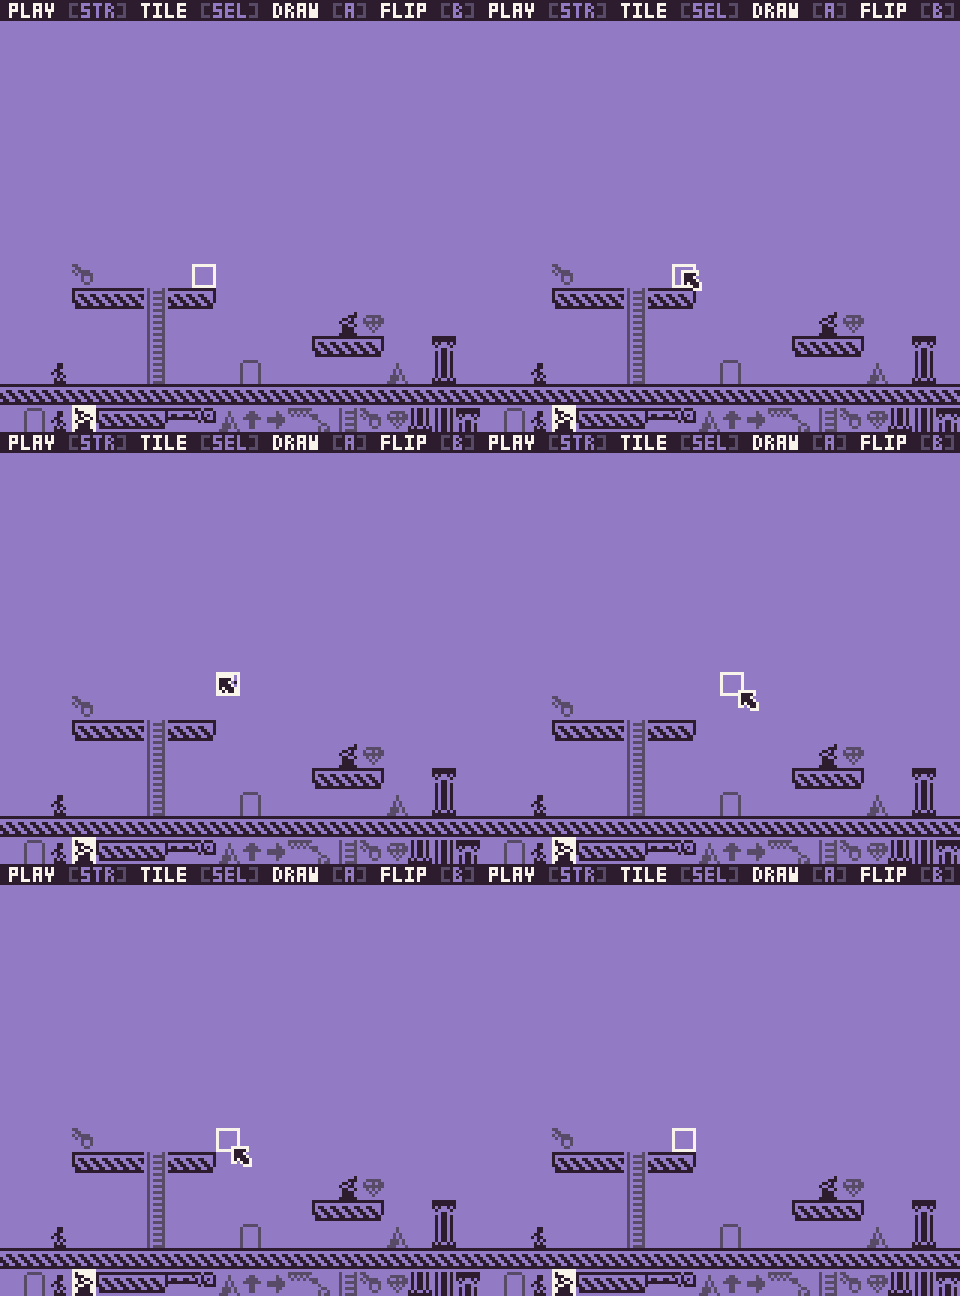
You can pick from any of the 20 tiles on the bottom of the screen to draw with. The tile with the white background is the currently selected tile. You'll also see it previewed on the map. Some tiles have a flip or alternative state. This can be used for changing the direction of an enemy or spikes.
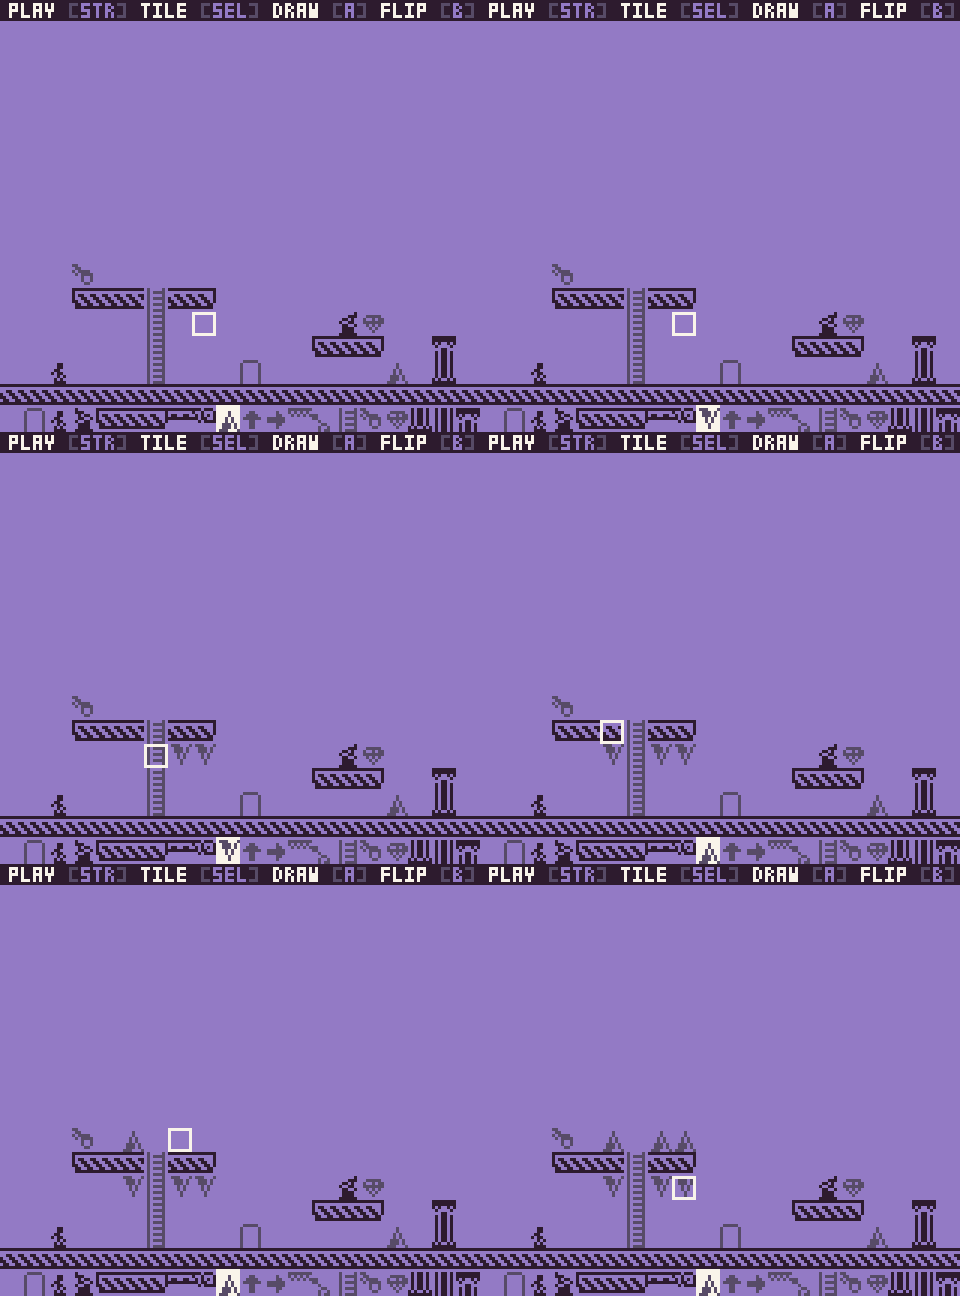
Finally, for a map to work, you need three things: a player, a key, and a door. When you start the game, if these things are not present, it will bring you back to the editor. There is no cap on how many players, keys, or doors you can draw on the map, but the game will only use the first of each when it processes all the tiles.
Submitting Maps With GitHub Issues
Once you are happy with a map, you can share it with someone else by sending them the map.spacestation8.png file. There are several ways to do this. You can attach it in a comment on the game's page, send it directly to them, or file a ticket on GitHub and include it there.
One thing to note is that some social networks like Twitter may compress the image. This will break the tilemap parser unless the image is pixel-perfect at 160 x 132 or 160 x 142.
The default map template looks like this:
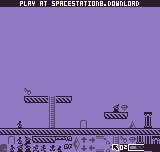
As you can see, a map is comprised of a 20 x 17 tile grid where each tile is 8 x 8 pixels. The top row is ignored, and for map images that are 142 pixels high, the last two rows (18 and 19) are used for the game's sprites.

There are 40 sprites which you can also modify if you want to re-skin the game. Each sprite is fixed to a corresponding element in the game, so while you can re-skin the graphics, you will not make new ones or change the internal sprite mapping.
The last thing to keep in mind when modifying the sprites, or even using drawing tools like Aseprite to modify map files, is that you will have to use the following four colors (#2D1B2E, #574B67, #937AC5, #F9F4EA) .

Finally, I use some custom GitHub issues to make filing bugs, requesting features. If you are unfamiliar with the GitHub issue templates, they live inside your project's .github/ISSUE_TEMPLATE folder.
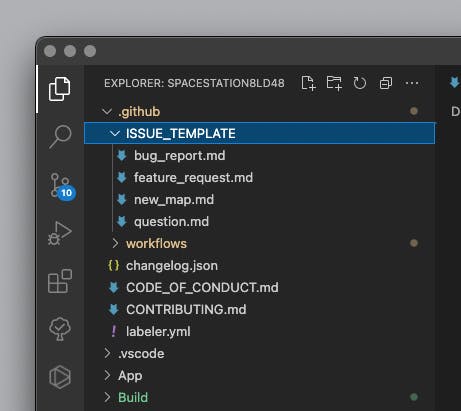
The first thing I needed to do was clean up my project's issue categories to match up with the templates I used.
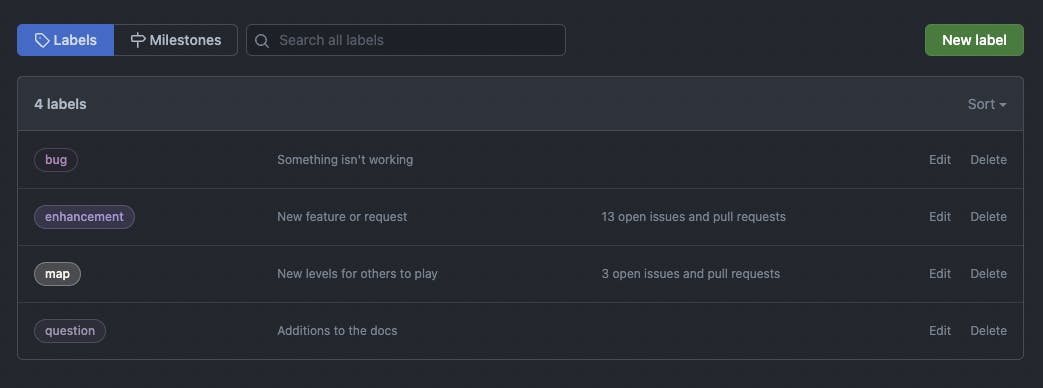
Finally, I created a new_map.md file with the following markdown inside:
---
name: Submit New Map
about: Did you create a level that you'd like to have included with the source code?
title: ''"
labels: map
assignees: jessefreeman
---

**Who Created the level**
Name: Jesse Freeman
Website: https://jessefreeman.com
Twitter: [@jessefreeman](https://twitter.com/jessefreeman)

**Screenshots**
Attach your map png, [add screenshots from PV8](https://docs.pixelvision8.com/pixelvisionos/screenshots) to be included in the game.

**Additional information**
Add any other context or screenshots about the map you'd like to share.
The markdown frontmatter directly maps to the issue form, and you can use it to automatically assign a label and whom the issues should go to on the project's team.
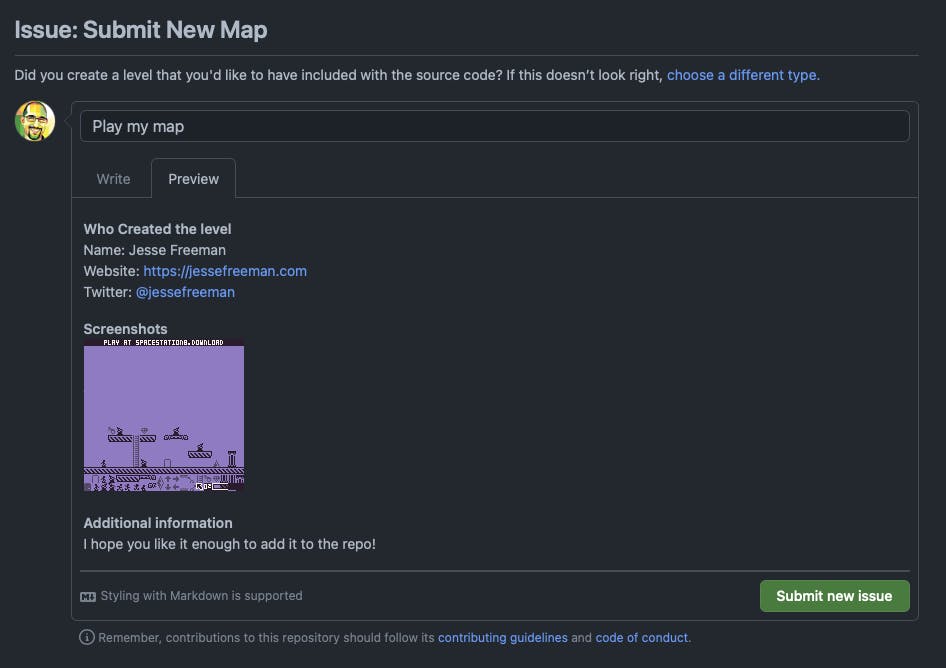
Here is what the new issue looks like when someone wants to submit a new issue:
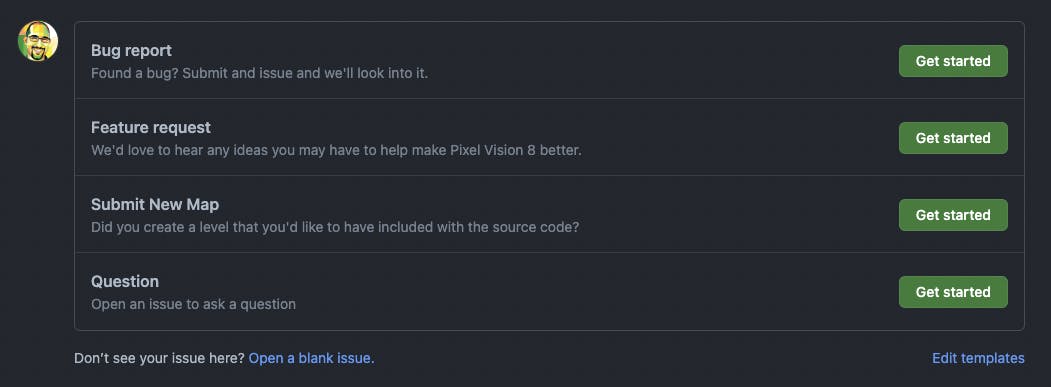
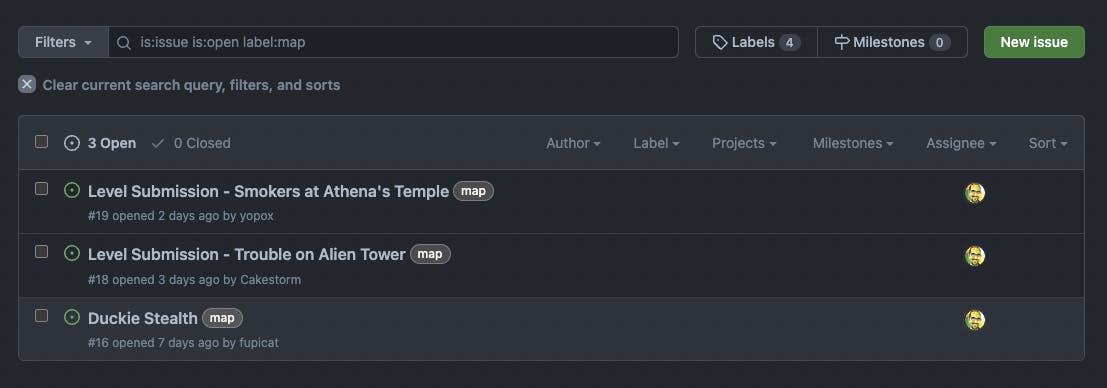
Now, I can go through each map and decide if I want to include it in the project or not. While I could have done this with pull requests, the thinking behind using an issue is that others can see the map before adding to the game and leaving comments.
Automated Release With GitHub Actions
In addition to creating custom issues, I use GitHub actions to automatically create new builds of my game whenever I push new code to the repo. I set this up early on in the game jam and having a simple continuous integration build system removed all the stress at the end of the game jam because I point people to the latest build, and it's always up-to-date by directing them to SpaceStation8/releases/latest/.
When I finished the game jam, I added a link to the last build, tag v1.17.0, for a snapshot of the state of the game so I could continue to make improvements after the jam.
I'll write a more in-depth article on how I use GitHub Actions, but at a high level, you need to create a specific folder in your repo, .github/workflows/ and put your yml file inside.
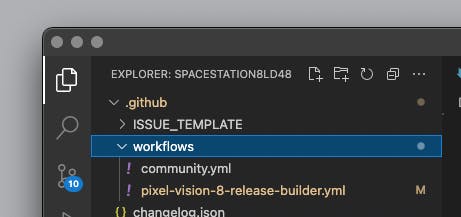
I was already using Gulp to package up my game anyway, so I made an action that does the following:
- Creates a new release and tag ( actions/create-release@v1 )
- Checks out my code on Ubuntu ( actions/checkout@v2 )
- Create a changelog ( jimschubert/beast-changelog-action@v1 )
- Install .net 5 ( actions/setup-dotnet@v1 )
- Install NodeJS and call my Gulp build task ( actions/setup-node@v1 )
- Upload the zipped Win, Mac, and Linus build artifacts to the release ( meeDamian/github-release@2.0 )
- Update the wiki ( OrlovM/Wiki-Action@v1 )
It sounds like a lot of steps, but once you get used to working with Gulp and GitHub Actions, the process to orchestrate all of this is relatively straightforward.
Next Steps
I took a break from working on my game to recharge, and I have plans to build a more robust level editor, clean up all the bugs I'm seeing from the maps people are submitting, and add some new features to make this micro platformer engine a bit more modular.
I encourage you to think outside of the box and leverage all of these fantastic free, open-source tools and services to speed up your development. I don't know many people that would take half a day out of a game jam to build a CI system, but I've had too many last-minute panic attacks where my game won't build, or I can't upload it because the jam site is slammed by everyone else trying to upload their game at the same time.
If you like this project, please leave a 👍 and ⭐️ on Github. Don't forget to create a level and submit it because I plan on adding a way to browse, load, and edit other people's maps in the next major update I release!
